


-
 Air Conditioners
-
 0 Comments
AC Installation Tips: Step-by-Step Guide to Installing an Air Conditioner
AC Installation Tips
Step-by-Step Guide to Installing an Air Conditioner
When it comes to cooling your home efficiently, the right AC installation tips can save time, energy, and money. Whether you want to understand how to install AC, explore DIY AC installation, or simply learn about AC installation steps, this guide provides clear, practical information for safe and reliable results.
Why Proper AC Installation Matters
Installing an air conditioner is not just about placing equipment. Each step affects your comfort, energy use, and indoor air quality. A correct setup ensures your unit runs efficiently for years.
Here’s why following proper AC installation tips is so important:
- Improves cooling performance and energy efficiency
- Extends the system’s lifespan
- Reduces costly repairs
- Keeps humidity and temperature consistent
- Maintains warranty protection
In hot and humid places like Central Florida, a correctly installed system makes a major difference in daily comfort.
Step 1: Choose the Right Air Conditioner
Before installing an air conditioner, you need to choose the right type and size. This ensures efficient cooling and prevents system strain.
1.1 Determine the Correct Size
A unit that is too small struggles to cool your home, while one that is too large cycles on and off too often. HVAC technicians use load calculations to find the right capacity based on your home’s size, insulation, and layout.
1.2 Select an Efficient Model
Modern systems feature SEER2 ratings that show energy performance. In Central Florida, consider models that manage humidity well, such as Daikin systems designed for efficiency and quiet operation.
Step 2: Prepare for Installation
Good preparation makes installing an air conditioner safer and faster.
2.1 Check the Electrical Setup
Confirm that your breaker panel supports the new system’s voltage. Some homes require updated wiring or a dedicated circuit for proper operation.
2.2 Choose the Right Location
Select a shaded spot indoors away from heat sources and direct sunlight. The outdoor unit should have at least two feet of open space on all sides for ventilation.
2.3 Gather Tools and Materials
If you plan to try DIY AC installation, you’ll need:
- Screwdrivers, pliers, and wrenches
- Mounting brackets
- Copper tubing and drain hoses
- Insulation wrap
- Safety gear such as gloves and goggles
Step 3: Install the Indoor Unit
3.1 Mount the Unit
Attach the indoor air handler on a solid, level surface. Use the template or mounting plate provided with your system. Ensure the wall can support the weight.
3.2 Connect Piping and Drain
Install the refrigerant lines and condensate drain. Wrap connections with insulation tape to prevent moisture buildup.
3.3 Handle Wiring Carefully
Follow the manufacturer’s diagram. Always turn off power before working with electrical parts.
Safety Tip: Never connect refrigerant lines without proper tools or training. This part should always be handled by a qualified technician.
Step 4: Install the Outdoor Unit
The outdoor condenser supports airflow and cooling efficiency.
4.1 Position the Unit
Place the condenser on a flat pad. Keep it away from plants or fences that can block airflow.
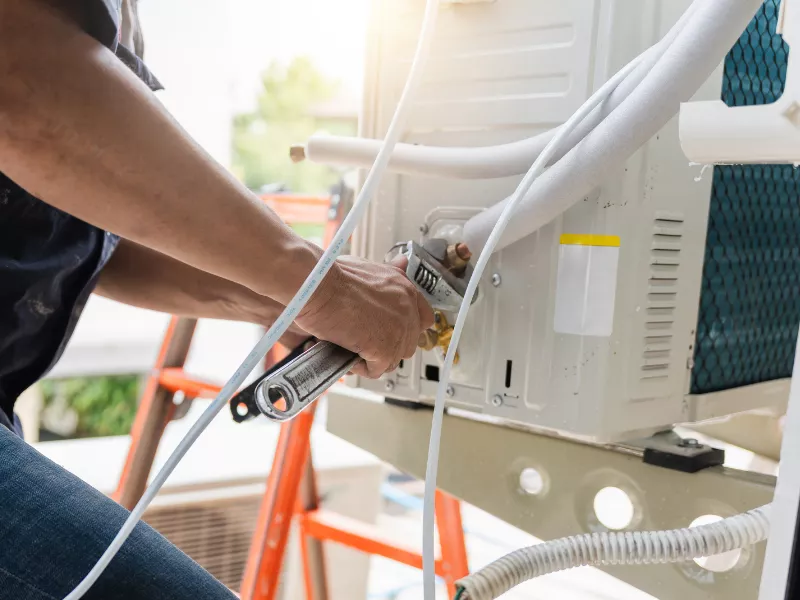
4.2 Connect Refrigerant Lines and Power
Tighten all connections securely to prevent leaks. Avoid over-tightening which can damage fittings.
4.3 Check Drainage
Ensure water drains away from your foundation to prevent structural issues.
Step 5: Connect, Seal, and Insulate
Proper sealing prevents energy waste and air leaks.
- Vacuum the lines to remove air and moisture.
- Perform a leak test using approved equipment.
- Seal and insulate all joints for steady performance and to stop condensation.
Step 6: Charge the System and Test
Adding refrigerant and testing performance are crucial steps.
6.1 Charge the System
A licensed technician must add the correct amount of refrigerant. Incorrect levels can damage components or cause the AC to underperform.
6.2 Test Cooling Performance
Once powered on, check air output, thermostat settings, and comfort across different rooms.
If airflow is uneven, inspect the ducts or call a professional for an evaluation.
Step 7: Final Inspection and System Check
After all AC installation steps are complete, do a final review. A qualified HVAC professional should:
- Confirm refrigerant pressure
- Check electrical safety
- Measure airflow and temperature differences
- Verify no leaks or vibrations
These checks guarantee your air conditioner operates safely and efficiently.
Common Mistakes During Installation
Even with a clear AC installation guide, some common mistakes can affect performance:
- Using incorrect unit size
- Leaving gaps in refrigerant insulation
- Failing to secure drain lines properly
- Ignoring manufacturer instructions
- Handling refrigerant without certification
Avoiding these errors ensures consistent cooling and protects your investment.
Safety Tips for Installing an Air Conditioner
Before starting any DIY AC installation, remember these safety tips:
- Always disconnect power before wiring.
- Avoid lifting heavy equipment alone.
- Wear gloves and safety glasses.
- Use a sturdy ladder on flat ground.
- Never open sealed refrigerant systems.
Your safety should always come first.
When to Call a Licensed Technician
Some installation steps legally require professional certification. Electrical wiring, refrigerant charging, and final testing must meet building codes.
A licensed technician ensures proper airflow, electrical safety, and long-term reliability. Even if you complete the prep work yourself, professional setup keeps your system efficient and your warranty valid.
Conclusion
Following these AC installation tips helps you understand each part of the process and make informed choices. From how to install AC to learning key AC installation steps, a careful approach ensures your system runs efficiently for years. For complex installations, professional help is the safest path.
Installing an air conditioner correctly means better comfort, lower bills, and dependable cooling all season long.
How A-1 Heat & Air Can Help
At A-1 Heat & Air, we make installing an air conditioner simple and reliable. Since 1987, we have served homeowners across Apopka, Orlando, and Central Florida with quality HVAC installations and replacements. Our team installs Daikin systems known for energy savings and superior humidity control. We provide flat-rate pricing, 24/7 emergency service, and special discounts for military, veterans, and first responders.
Call (407) 290-9517 today to schedule your AC installation and experience lasting comfort in your Florida home.
